News
how to clean a kitchen (without making it an all-day event)
The kitchen is the heart of the home. It's where meals are made, snacks mysteriously disappear and somehow, no matter how careful you are, there's always another crumb waiting to be found. The good news? Keeping your kitchen clean doesn't have to be a full-time job. After cleaning countless homes, we've learnt that the trick isn't cleaning harder. It's cleaning in the right order, using products that actually work and building a routine that's easy to stick to. Here's exactly how to clean a kitchen like a professional cleaner, from top to bottom. clear the decks Before you grab the spray bottle, spend a few minutes clearing your benches. Put away clean dishes, move appliances if needed and throw out any rubbish that's accumulated. Working on a clutter-free surface makes the whole job quicker and means you're actually cleaning the bench, not just the tiny spaces between everything. It might not be the most exciting part, but it's worth it. start with the toughest job Professional cleaners typically tackle the hardest jobs first. In the kitchen, that's usually grease. Whether it's your stovetop, rangehood, splashback or cupboard doors, built-up grease is much easier to remove when you let the cleaner do the hard work. Dilute your pro degreaser concentrate at a 1:10 ratio, spray onto greasy surfaces, and wipe clean with a microfibre cloth. Your arms will thank you. clean from top to bottom Gravity is your friend. Dust and crumbs fall down while you clean, so always start high and work your way towards the floor. A simple order looks like this: Top cupboards Splashbacks Appliances Benches Sink Bottom cupboards Floors That way, you're only cleaning your floors once instead of twice. wipe your cupboards Kitchen cupboards collect fingerprints, food splashes and cooking residue surprisingly quickly. Pay particular attention around handles and the cupboards closest to your stove, as these areas usually collect the most grease. A quick wipe every week with pro multi-purpose concentrate (window & glass) solution, diluted at a 1:10 ratio, keeps them looking fresh and prevents build-up from becoming a much bigger job later on. Every month, remove the contents from your kitchen cupboards, drawers, and shelves and give the inside a good wipe over. It helps keep your kitchen looking and feeling fresher. Make sure you don't forget about the tops of your cupboards - dust loves to hang out there! don't ignore your splashback Your splashback works hard. Every meal sends tiny splatters of oil, sauces and steam towards it, even if you don't notice. Cleaning it regularly not only keeps your kitchen looking fresh but also stops grease from becoming stubborn over time. make your benches sparkle Once the heavier grease has been tackled, spray your benches with pro multi-purpose concentrate (window & glass) solution. Its fast-drying formula leaves benches, splashbacks and high-touch surfaces clean without sticky residue, making it perfect for everyday cleaning. Work one section at a time and finish with a clean microfibre cloth for the best result. give your sink some love It's easy to assume your sink is clean because water runs through it all day. Unfortunately... that's not quite how it works. Food scraps, grease and bacteria can all build up around the drain, taps and edges. Remove any food scraps that are beginning to call the bottom of the basin home, then give the tap, basin, and drying area a thorough clean. Make sure to pay extra attention to the drain and around the tap base, where grime loves to hide. tackle stainless steel the right way Stainless steel appliances look fantastic... until they're covered in fingerprints. Use your diluted pro multi-purpose concentrate (window & glass) solution and a clean microfibre cloth to wipe your stainless steel tap, sink, and appliances clean. It's a small trick that makes a surprisingly big difference. 💡pro tip from kate & jack: wipe as you go While you've got your pro multi-purpose solution handy, wipe down the lightswitches, cupboard handles, and fridge handle. A quick once-over can mean your lightswitches stay looking their actual colour instead of being buried underneath weeks' worth of dirt and grime that's a little stubborn about leaving. empty the bin The bin often gets overlooked because, well... it's where rubbish goes. But food spills, sticky residue and lingering smells can quickly build up. Empty it regularly, wipe the inside and outside, and if needed, freshen it up with some pro harmony to help neutralise unpleasant odours while leaving behind a fresh driftwood and sage fragrance. Your nose will notice the difference. finish with the floor By now, all the crumbs and dust should already be on the floor waiting for you, staring at you, mocking you... The best way to put an end to the mockery? Grab the vacuum and watch the muck on the floor simply disappear. Make sure to pay extra attention to: Under the dining table In front of the sink Around the rubbish bin Beside the fridge These are the places where crumbs seem to gather for little secret meetings. Once you've successfully defeated your crumb and dust-bunny friends, it's time to get the mop. For greasy floors, dilute 25ml of pro degreaser concentrate in a 10-litre bucket of water, scrub, and rinse. For everyday mopping needs, simply dilute 50ml of pro harmony concentrate in a 10-litre bucket and begin your happy-mopping-dance. how often should you clean your kitchen? Little and often is the key. Here's a simple routine to keep things manageable: Every day Wipe benches Wash dishes Clean the sink Empty rubbish if needed Once a week Clean appliances Vacuum and mop the floor Clean the splashback Discard old food in the fridge and pantry Wipe high-touch areas, like lightswitches and handles Once a month Wipe cupboard fronts Clean inside the microwave Wipe the inside of the cupboards Clean behind small appliances Wipe skirting boards Deep clean the fridge Doing a little regularly is much easier than trying to rescue the kitchen after weeks of build-up. common kitchen cleaning mistakes Using too much product: More cleaner doesn't always mean a better clean. Using the correct dilution generally gives you the best results Leaving spills for too long: Grease and food spills become much harder to remove once they've dried Forgetting high-touch areas: Handles, light switches, appliance buttons, and cupboard pulls are touched dozens of times every day. They're quick to wipe but easy to forget. Using one cloth for everything: Nobody wants yesterday's stovetop grease ending up on today's dining table. Keep separate cloths for different cleaning jobs and wash them regularly. the secret to a cleaner kitchen Here's something we've learnt after years of professional cleaning: a spotless kitchen isn't created by spending hours cleaning once a month. It's created by spending five or ten minutes cleaning every day. A quick wipe after dinner, cleaning the splashback while the kettle boils, and giving the sink a once-over after dinner are just a handful of little habits that stop the big jobs from ever becoming overwhelming. And when you've got products that work as hard as you do, keeping your kitchen clean becomes one less thing to think about. ready to make kitchen cleaning easier? Whether you're tackling greasy stovetops, wiping down benches or freshening up the bin after taco night, clean like a pro has a professional-grade solution designed for real homes and real-life messes. Explore our range of concentrates and discover how much easier cleaning can be when you've got the right products by your side. 💡pro tip from kate & jack: wipe as you go If you're waiting until the kitchen looks dirty before cleaning it, you've already made the job harder. Five minutes every day beats one exhausting deep clean every month.
Learn morehow to clean a bathroom once and for all
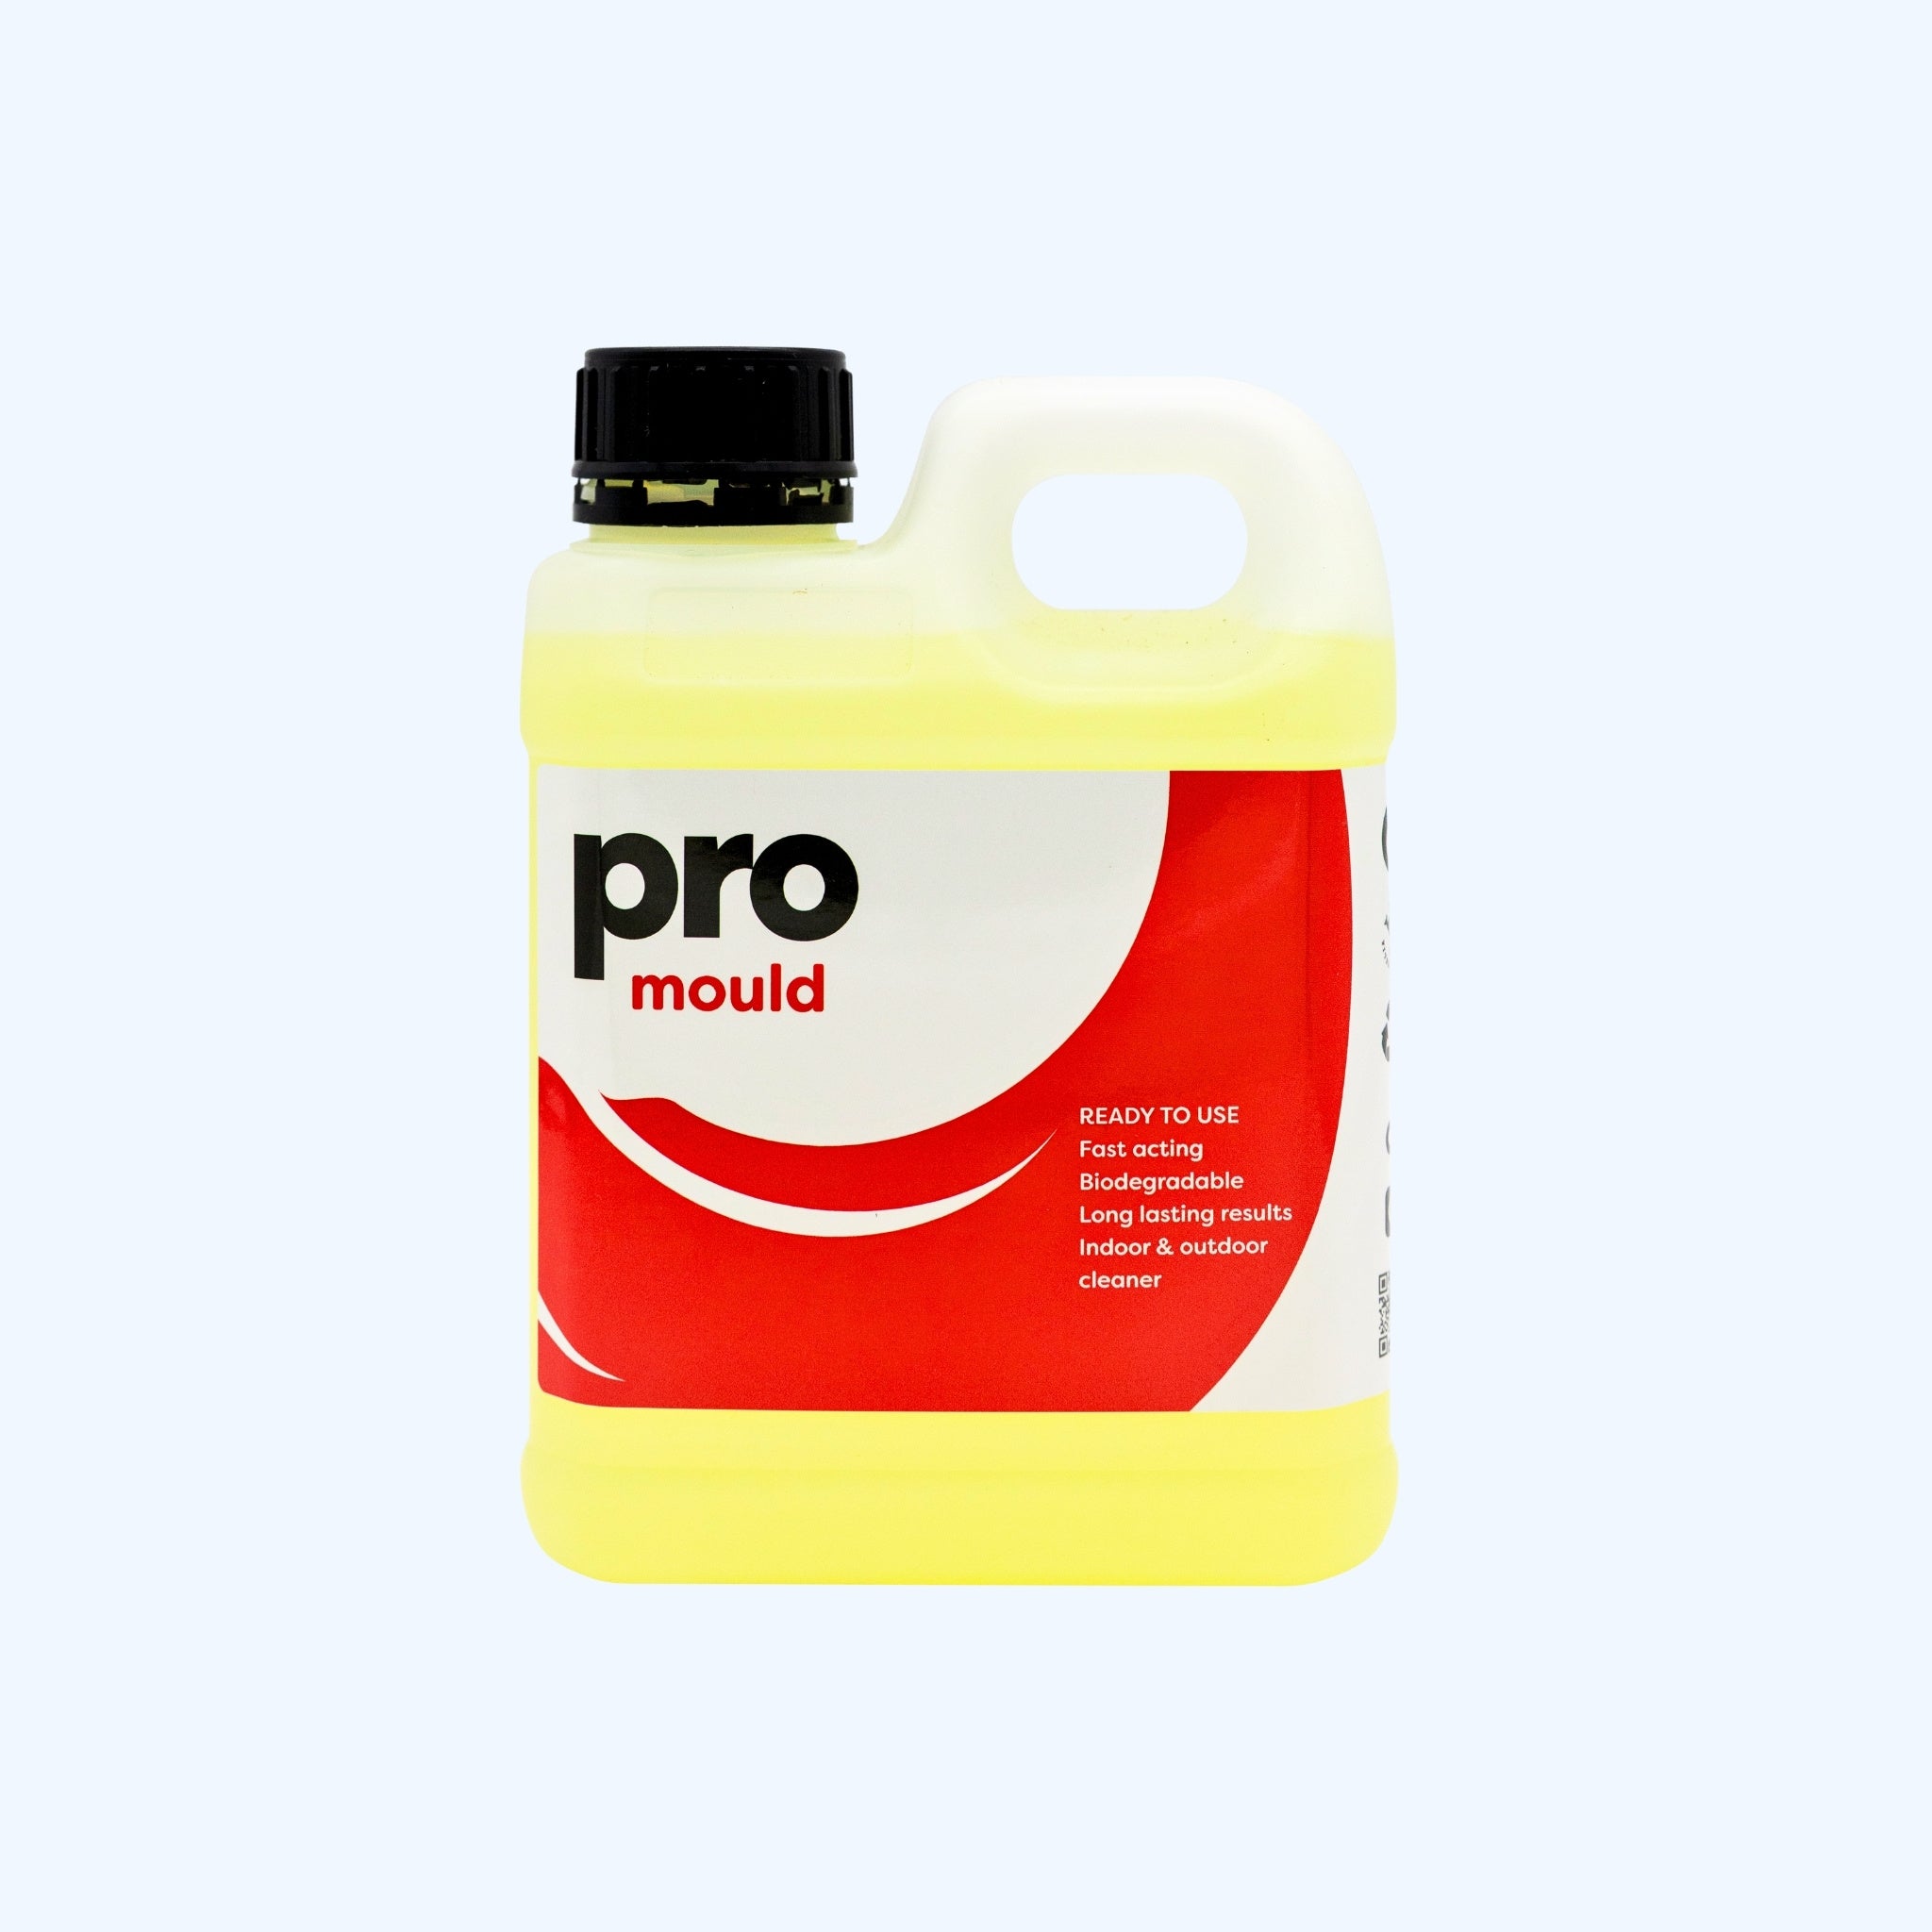
Let's be honest. Cleaning the bathroom is right up there with dusting the ceiling the fans or being woken up at 5am by the dog's audition for The Voice. Nobody gets excited about it. But the good news is, it doesn't have to take hours. As professional cleaners, we've learned that a clean bathroom isn't about scrubbing harder. It's about cleaning smarter, using the right products and tackling things in the right order. Whether you're doing a quick weekly clean or rescuing a bathroom that's seen better days, here's our tried-and-tested method for getting it sparkling again. step zero: before you start First things first, remove anything that's in the way so that you're working with a blank canvas. Evict shampoo bottles from the shower, clear the vanity, empty the bathroom bin, and pick up any towels chilling out on the floor. It might seem like an extra step, but cleaning becomes a whole lot easier when it's not an obstacle course. If you can, we'd also open a window or turn on the exhaust fan to improve ventilation while you clean. step one: start with the shower After a week of daily or multiple daily visits, your shower needs a lil' bit of attention and care. Whether you feel like the only thing left to redeem your shower is a sledgehammer or you're just tackling everyday grime, we've put together the steps for reclaiming your shower. the unwanted addition to the family: mould Often in showers, even after frivolously scrubbing and wishing there was a better way, one thing remains: mould (*cue dramatic music here). The good news is that there is in fact a better way: pro mould. With appropriate PPE, spray pro mould onto a cloth and wipe or spray the affected area. Leave it be for 20 minutes to work it's magic and give it a little scrub if there is heavy build-up before rinsing thoroughly with water. If at first you don't succeed, don't let it discourage you; you can repeat as necessary to rid your shower of the science experiment. Handy Tip: Always make sure to thoroughly rinse away any pro mould since it can't be used directly with pro shower. heavy-duty grime To deal with soap scum, water spots and tough grime, be sure to grab your pro shower concentrate next. Dilute the concentrate at a 1:10 ratio with water and spray it generously over the shower glass, metal fixtures, tiles and grout. Make sure you don't let it sit - simply scrub with a non-scratch scourer, rinse the area well, and dry the shower with a microfibre cloth. We recommend our pro edgeless microfibre cloths - 50 pack (you'll be set for a long time with a 50 pack!). Handy Tip: Be sure to avoid using pro shower on marble, natural stone or terrazzo, as it may cause permanent damage. everyday build-up If your shower is only partially suffering from a little bit of makeup (in the form of soap scum) and everyday build-up, it's time to bring out your pro bathroom & toilet. Unlike it's sister, pro shower, this one can sit for up to 5-10 minutes (though make sure you rinse it off and don't let it just dry), since it acts as a disinfectant, before scrubbing, rinsing, and drying. Handy Tip: One of the easiest ways to keep your shower looking newer for longer is to clean the glass every week. Mineral deposits and soap scum become much harder to remove once they've had time to build up, so a quick clean now saves you from a much bigger job later. step two: tackle the toilet Find your pro bathroom & toilet concentrate and add a 20ml splash of undiluted concentrate to the bowl. We recommend leaving it to sit for a minute, so while you wait, grab your 1:10 diluted solution and microfibre cloth to spray and wipe around the seat, lid, and exterior surfaces. Once the outside is looking sparkly, scrub the bowl with a toilet brush and flush to eliminate germs, bacteria, and odours. step three: clean the vanity Bathrooms collect an impressive amount of toothpaste, shavings, soap residue and mystery splashes which if left for long, can become unsightly features. Quickly spray your pro bathroom & toilet on your vanity, basin, taps and surrounding surfaces and wipe everything down with a microfibre cloth. Make sure to pay extra attention around the tap bases where grime loves to hide. And we can't forget about the mirror. For the shiniest, clearest mirror you've ever seen (perhaps even more sparkly then when you first moved in...), dilute pro multi-purpose concentrate (window & glass) to a 1:20 ratio, spray and wipe with a microfibre cloth to leave a streak-free finish. 💡pro tip from kate & jack: work from top to bottom Here's one of the biggest professional cleaning tips we can give you: always clean from the highest surfaces down. Dust, dirt and water naturally fall as you clean, so by working top to bottom you only need to clean your floors once. Start with shelves, mirrors and shower walls before moving to benches, sinks and finally the floor. Trust us, future you will thank you. step four: don't ignore the little things It's often the smallest details that make the biggest difference. Take a minute to wipe: Light switches Door handles Towel rails Toilet roll holder Exhaust fan cover Skirting boards Window sills These spots are easy to overlook but can collect surprising amounts of dust, fingerprints and grime. We'd recommend either our pro multi-purpose (window & glass) or pro bathroom & toilet to ensure these spots come up spick and span! step five: finish with the floor By now, everything else should already be clean. Start with vacuuming the bathroom to collect any dust, hair, or dirt before whipping out the mop. "Which product should I use to mop my floors?", I hear you ask? Our pro bathroom & toilet concentrate, pro shower concentrate and pro harmony concentrate can all be diluted to be used as a mopping liquid. Where pro shower is an acid-based, more heavy-duty cleaner, pro bathroom & toilet and pro harmony are gentle, pH neutral options. Plus, pro harmony doubles as a multi-purpose while pro toilet & bathroom acts as a disinfectant. Once you've filled up your mop bucket and began your mopping journey, make sure you work your way towards the door so you're not walking over the clean floor on your way out. Handy Tip: If you do find yourself in desperate need of cleaning from the door backwards, we recommend chucking on a pair of socks to avoid traipsing dirty footprints back across your nice clean floor. how often should you clean your bathroom? A little maintenance goes a long way. As a general guide, we recommend: Every few days Wipe down the vanity Weekly Clean the toilet Empty bathroom bin Clean the shower Vacuum and mop the floors A quick wipe over light switches, door handles, towel rails, and so forth Monthly Deep clean grout Give your exhaust fans a clean Cleaning regularly is almost always easier than waiting until everything has built up. common bathroom cleaning mistakes Even with the best intentions, these mistakes can make cleaning harder than it needs to be. Using too many products: There doesn't have to be a separate product for every single task. Instead, equip yourself with smaller, versatile array of products that will tackle a whole host of cleaning tasks. Using dirty cloths: A dirty cloth simply spreads grime around. Keep a few clean microfibre cloths on hand and swap them out as needed. Forgetting to dry surfaces: Drying taps, shower glass, and tiles after cleaning helps prevent water spots and leaves a much nicer finish. the secret to an easier bathroom clean The biggest secret isn't a magic product, it's consistency. Five or ten minutes each week is far easier than spending half your Saturday trying to rescue months of soap scum and mould. With the right routine and products that actually do what they're supposed to, keeping your bathroom clean becomes just another quick job instead of a dreaded weekend project. And honestly? We'd all rather spend our weekends doing literally anything else than attempting to reclaim the bathroom. ready to make bathroom cleaning easier? Whether you're tackling stubborn soap scum, keeping mould under control or simply trying to make your weekly clean a little quicker, our professional-grade concentrates are designed to make real-world cleaning simpler. Explore our range of bathroom favourites and see why thousands of Australians trust clean like a pro to help them spend less time scrubbing and more time enjoying a clean home.
Learn morehow to keep your home looking newer for longer (without spending your weekends cleaning)
Keeping your home looking its best doesn't have to mean cleaning every day. Discover practical tips from the pros to prevent grime, avoid common cleaning mistakes, and protect your home for years to come.
Learn morea survival guide for first-time out-of-homers
Your first place comes with a lot of surprises, and unfortunately, dirty bathrooms are one of them. Whether you're renting solo, bunking in with your best buds, or taking the exciting step of leaving the nest with your partner, here's everything you need to know about keeping your home clean, preventing mould, and making adulting just that little bit easier.
Learn morerenting? here's how to keep your place clean all year round
Renting doesn't have to mean stressing about inspections or spending your weekends cleaning. With a few simple habits and the right products, you can keep your home fresh, tackle everyday messes before they build up, and make overwhelming cleaning a thing of the past.
Learn morehow to manage household chores
Explore effective ways to manage the mental load of household chores, get the whole family involved, and ensure chores are shared equitably among all family members.
Learn morestop competing on price. start competing on value

There will always be someone willing to clean for less, but the cheapest cleaner isn't always the one clients remember. Here's how to charge with confidence, build trust, and attract customers who value quality over price.
Learn moreunderstanding your responsibilities as a tenant: a guide to entry and exit condition reports in queensland
Unpack the essentials of tenant responsibilities, entry and exit condition reports, and fair wear and tear with our comprehensive guide for renters in Queensland. Learn what’s expected of you and your rights.
Learn more